# Getting started
If you have just installed your NADA catalog and want to test it, we show you here how to publish some content that you can download from our GitHub repository. We will publish a micro-datasets and two documents. We also provide instructions for deleting the content you will upload for this try. To test the uploading of resources using the API, you need either the R package NADAR or the Python 3.n library PyNADA installed on your computer. See section "Tools for API users" of the NADA Administrator Guide.
# Publishing microdata
Before you start, download the try_micro zip file (opens new window) from our GitHub repository and extract its content in a new folder. The content of this new folder should be as shown below. Note that this folder structure is not imposed by NADA (see section "Organizing your files" of the NADA Administrator Guide), but it is important to keep it as is as the AFR_1996_WDAAF_v01_M.rdf file, which contains metadata for the resources related to the dataset, includes relative paths where the resource files are expected to be found.
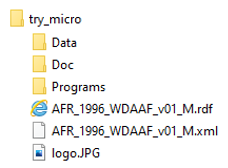
In these folders, you will find the following content:
- In the root folder, the DDI-compliant metadata (xml file), the Dublin Core-compliant metadata for the related resources (rdf file), and a jpg image file to be used as a thumbnail in the NADA catalog.
- In the Data folder, the dataset to be published in the catalog. In this case, the dataset is contained in a single compressed file for each one of the three formats that we want to make available (Stata, SPSS, and CSV).
- In the Doc folder, all related documentation files. In this particular case, this is limited to a PDF file containing a working paper. In most cases, the documentation files will include survey questionnaires, interviewer manual, technical and analytical report, and others.
- In the Programs folder, a Stata script (do file) used to format teh original dataset. It is good practice to share scripts and code that would allow users to replicate data processing, editing, tabulation, analysis, and visualizations.
# Using the administrator interface
To publish the dataset and the related materials in your new NADA catalog, first login as administrator, then in the login sub-menu, select Site administration.

In the Studies menu, select Manage studies > Central Data Catalog

Click on Add study

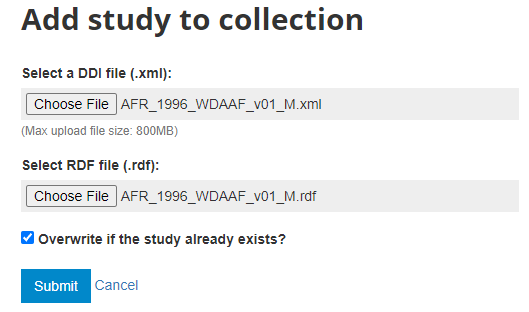
In the Add study to collection frame, browse and select the DDI (.XML) and RDF files found in folder try_micro (respectively, AFR_1996_WDAAF_v01_M.xml and AFR_1996_WDAAF_v01_M.rdf).
The metadata contained in the XML and RDF files will be uploaded. Please note that this will only upload metadata to your web server. No dataset, document, or other external resource file has been uploaded yet.
The Overview page will now be displayed, providing you with the possibility to take various actions.
In Country, you will notice that Eswatini is highlighted in red. This means that the country name is not found in a reference list of countries (in this case, it is because the reference list is outdated and still refers to Eswatini as Swaziland). You will see in section "Catalog administration > Countries" why you should, and how you can address such issues. For now, let's ignore it.
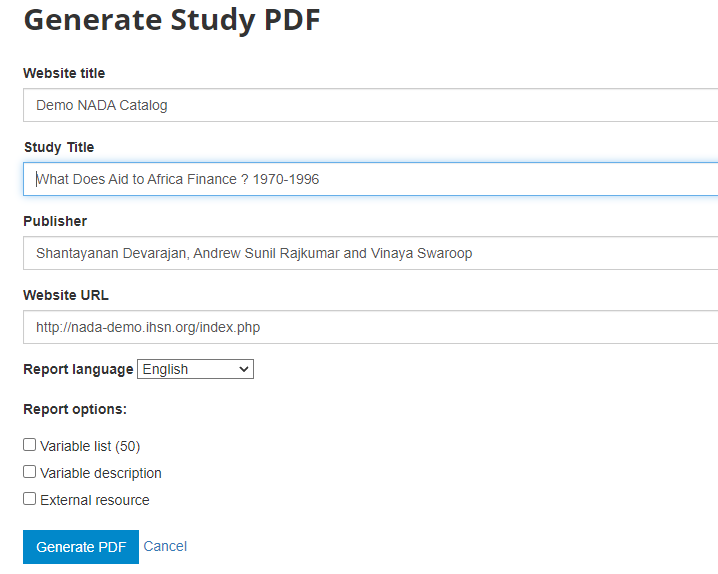
In Metadata in PDF, click on Generate PDF (optional). Keep the options by default in the PDF generation form, and click Generate PDF. This will create a PDF version of the documentation, which will automatically be made available to users in your catalog.
In Data access, select Open access then click Update to define the microdata access policy for this study.
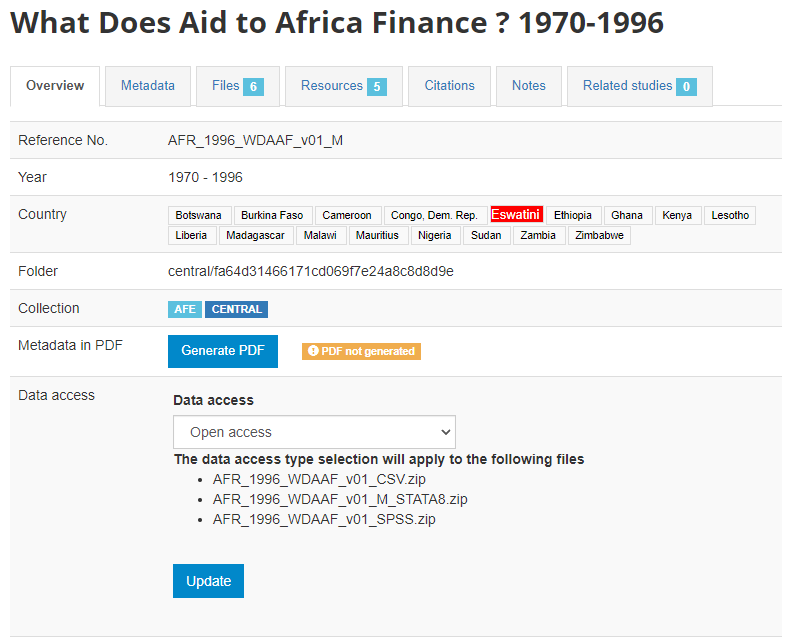
Leave all other components of the page unchanged (the Administrator guide provides a description of all components).
Skip the Metadata tab, which is only used to generate metadata from scratch, or to edit uploaded metadata.
In tab Files, you will upload all files that you want to make accessible on-line in your NADA catalog (data files, documents, scripts, or other). In our case, select the survey report (multi_page.pdf file found in folder /Doc), the three zip files containing the microdata found in folder /Data, and the Stata do file (script) found in folder /Programs. You will see that the type of file is indicated by an icon and a specific font color. It is important to verify that the data files are indeed recognized as microdata (the restrictions that may come with the access policy you enter in "Data access" will only apply to these files).
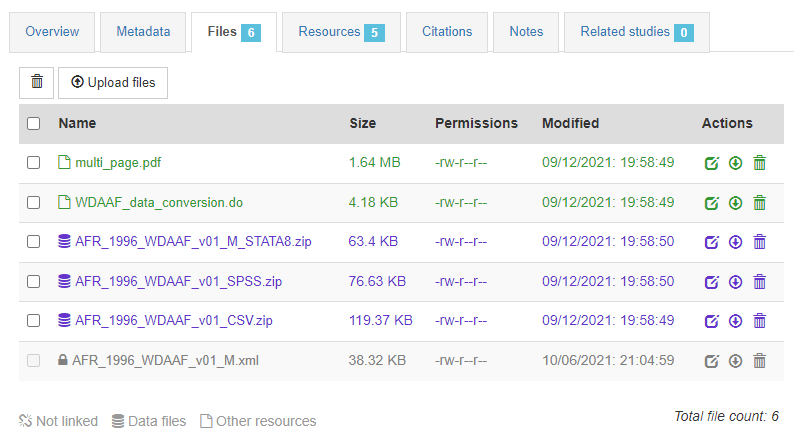
In the Resources tab, you will see a list of external resources, which should correspond to the files you uploaded. This list was extracted from the rdf file.

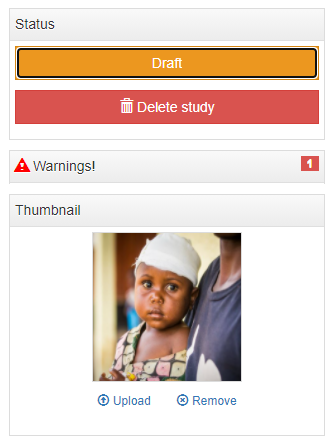
Last, upload a logo/thumbnail for your dataset (file logo.jpg or any other JPG file of your choice), and click on Draft to change the status of your new entry to Published. Your dataset is now visible in your catalog. See the latest addition in the "Home page" or browse the catalog to find it.
If you want to delete this entry, click on Delete study. If you want to unpublish it without deleting it, click on Published to set it to Draft (in which case it will remain in your catalog, but only visible to the catalog administrators).

# Using the API and R or Python
Another option to publish a dataset in a NADA catalog is to make use of the NADA API. We show below how the same dataset and resources that were used in the example above can be uploaded in your catalog using R (using the NADAR package) or Python (using the PyNADA library). Using the API to maintain a NADA catalog requires an API authentication key with administrator privileges.
# Publishing a document
# Using the administrator interface
In the microdata example above, the metadata were readily available (provided in an XML and a RDF files, generated using a specialized metadata editor application). In this second example, no metadata is provided. It will be generated in the NADA administrator interface. This option is not recommended for complex datasets (like microdata, where a large number of variables may have to be documented individually), but it can be used for simpler "datasets" like a document, which does not require as much metadata.
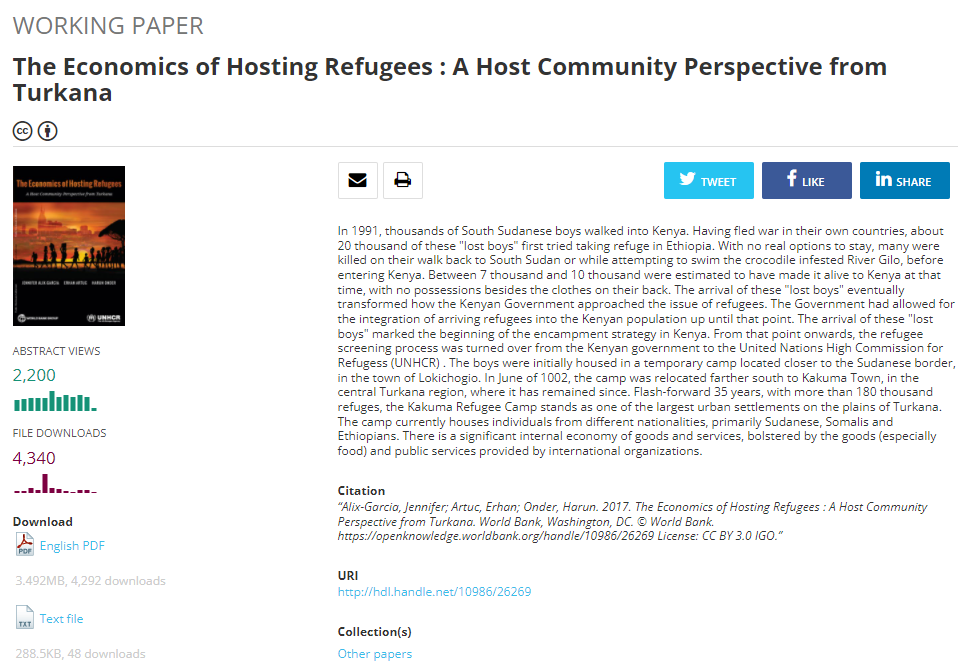
We assume here that you want to add the following document to your central catalog, and provide a link to it (not making the PDF file accessible from your website): https://openknowledge.worldbank.org/handle/10986/26269 (opens new window)
Login as administrator, then in the login sub-menu, select Site administration.
In the Studies menu, select Manage studies / Central Data Catalog
Click on Add study.
In Create new study, select Document

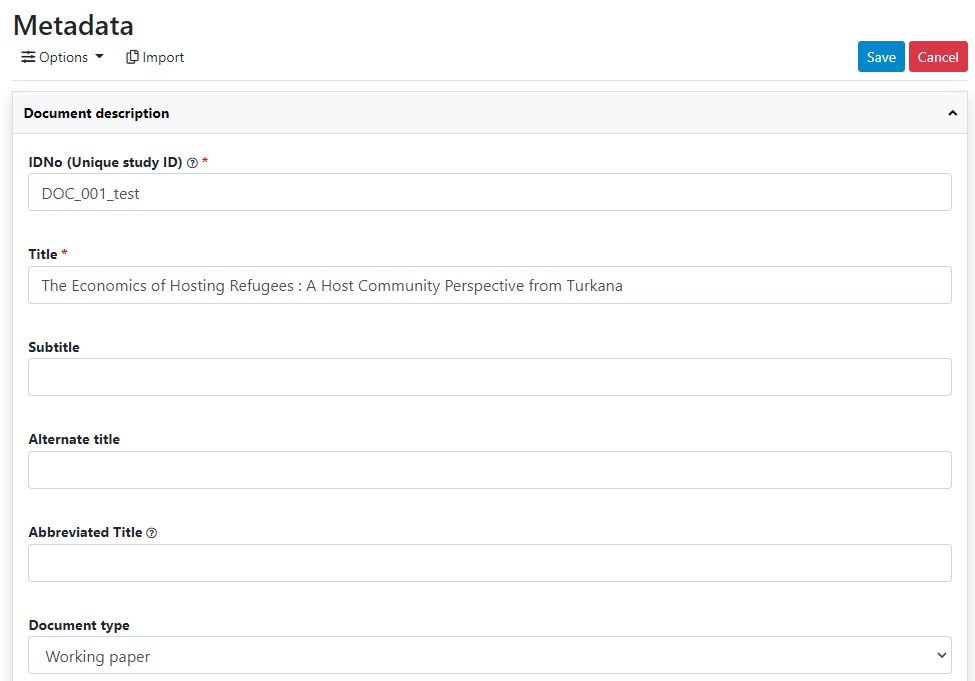
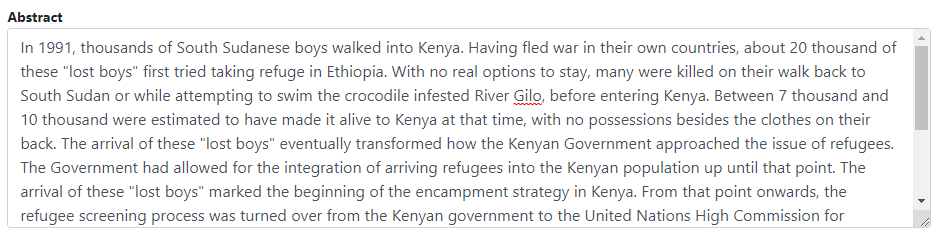
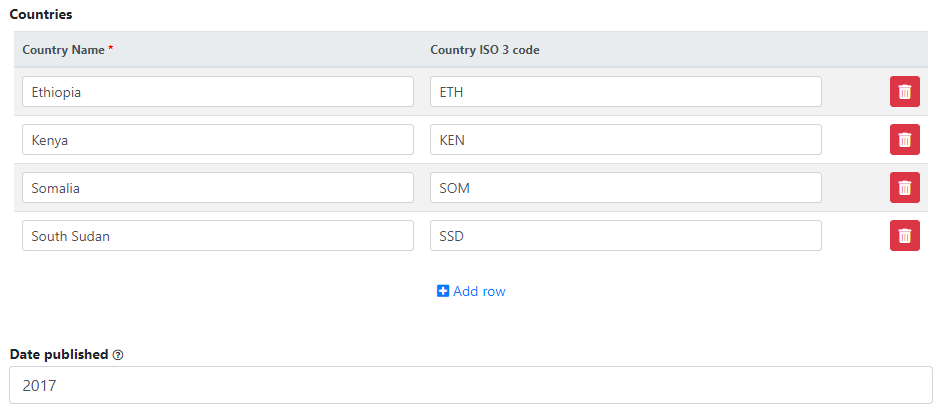
Click on Metadata. A form will be displayed (with a navigation bar), showing all metadata elements available to document the publication.

Enter some information in this form including the title, date, author(s), abstract, and more (most of which can be found in the document itself), then click on the Save button.
Go back to the catalog entry page (press the "back" button of your browser).
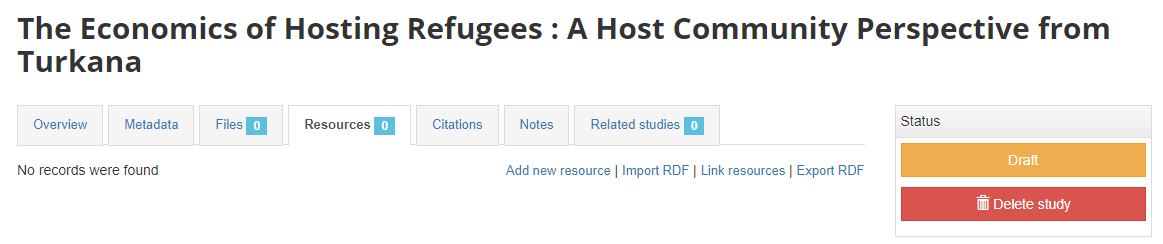
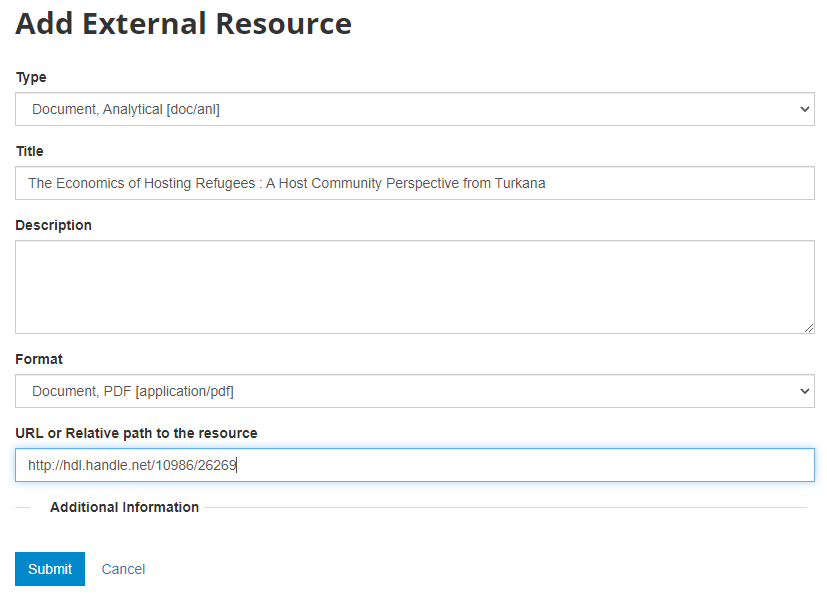
What you have done so far is generating and publishing the document description in the catalog. We have not provided any link to the document, or uploaded the document on your file server. One option is to upload the PDF to your web server and make the document available directly from your website. In our example however, what we want is to provide a link to an external website where the documents is already published. To do that, click Add new resource and provide information on the type of resource you are providing a link to (in this case an analytical document), the resource title (in this case it will be the title of the document, but in some cases, you may want to attach multiple files to a document, e.g., an annex containing the tables in Excel format, etc.) Provide a URL to the site you want to link to (the alternative would be to provide the path and filename of the PDF file, for upload to your server). Click Submit.
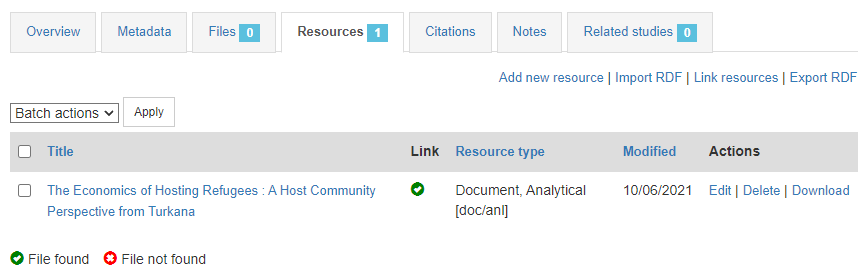
Now the document metadata and the link to the resource are both provided. But the entry is still in draft mode (i.e. only visible to administrators).
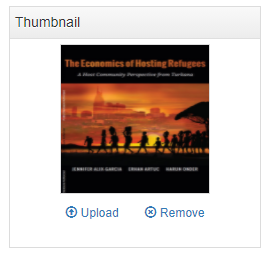
The last step will be to upload a thumbnail (optional), and to make this entry visible in your catalog by changing its Status from Draft to Published. For a document, a screenshot of the cover page would be the recommended thumbnail.


The entry is now visible to visitors of your catalog and in the Dashboard of the Site administration interface (where you can unpublish or delete it).
If you want to delete this entry, click on Delete study. If you want to unpublish it without deleting it, click on Published to set it to Draft.
# Using the API and R or Python
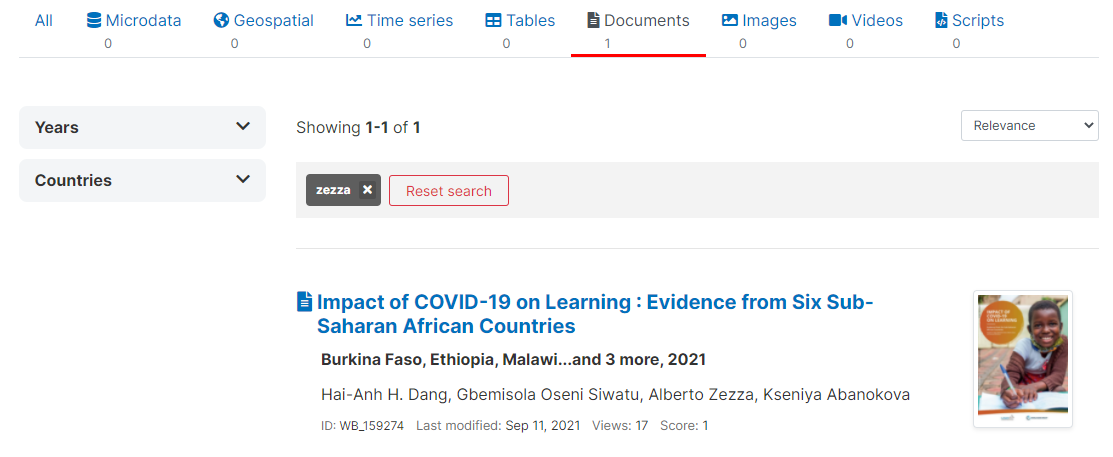
A document can also be published in NADA using the NADA API and R (NADAR package) or Python (PyNADA library). In such case, the document metadata will be created in the R or Python script. The metadata must be structured in strict compliance with the metadata standard used for documenting documents. In the example, below, we use a different document by the World Bank: "Impact of COVID-19 on Learning : Evidence from Six Sub-Saharan African Countries" available at https://documents.worldbank.org/en/publication/documents-reports/documentdetail/656051621919132722/impact-of-covid-19-on-learning-evidence-from-six-sub-saharan-african-countries (opens new window). Download this file and save it in a folder of your choice. In the code below, we assume that this file is saved as "C:/nada_get_started/COVID-19_Learning_LSMS_2021.pdf" (you can change the location and file name).

That's it ! The document is now listed and accessible in your NADA catalog.