# Data deposit administration
# Access deposits
Administrators can access deposits from the Data Deposit menu. Deposits can be filtered by workflow status or found using the keyword search function. The administrator can view a list of deposits at each stage of the workflow, see what is in the pipeline (draft and submitted projects); review deposits that are still in draft status and feedback to depositors before they submit.
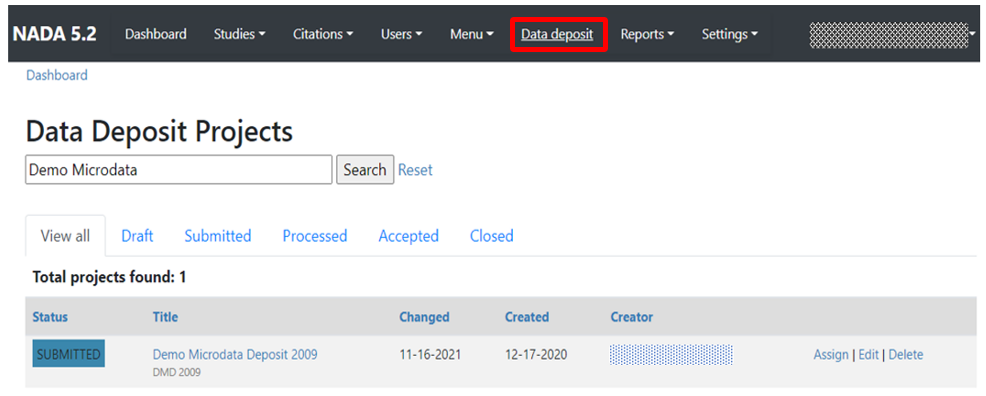
For each deposit, there are three primary actions that can be performed by an administrator: Assign, Edit and Delete.
# Assign tasks

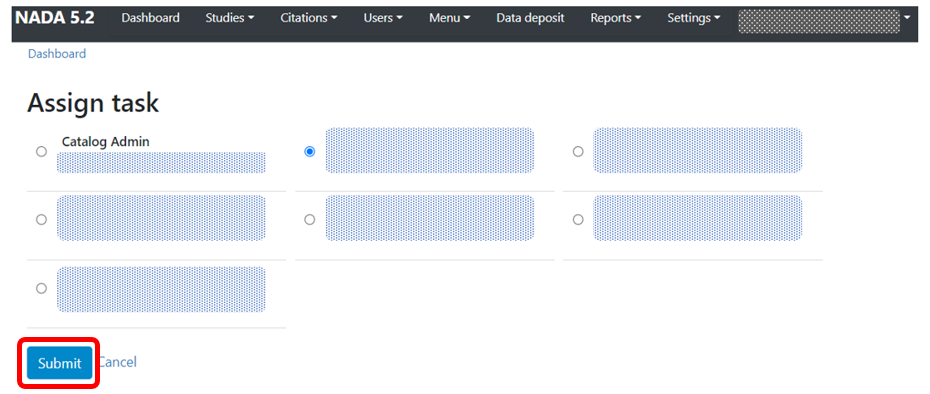
An administrator can assign a deposit to a curator, who also has administrative rights to access the deposit admin site. The system sends a notification to the assigned curator, and tags to inform informs other curators on who is managing the deposit. To assign a deposit to a curator, click the assign link then select the assignee from the list of admins and click submit.
Once a deposit is assigned, a tag is displayed next to the deposit with the initials of the assigned curator. The tag is color coded to signal the status (work in progress/resolved). The default status for assigned projects is work in progress. This can be updated by the curator once it is resolved. This status is independent of the deposit workflow status and is updated separately.

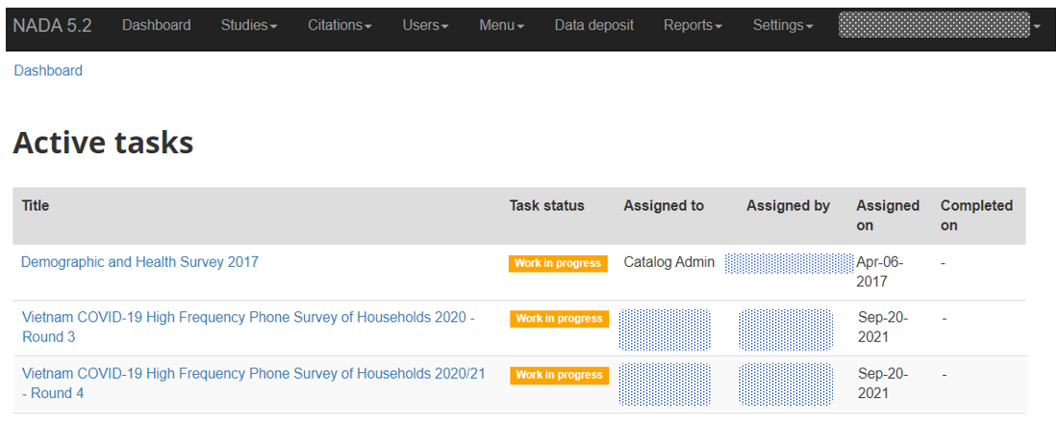
# Features to keep track of assigned tasks
An administrator can view all active tasks by using this url:
Catalog url+ /admin/datadeposit/tasks
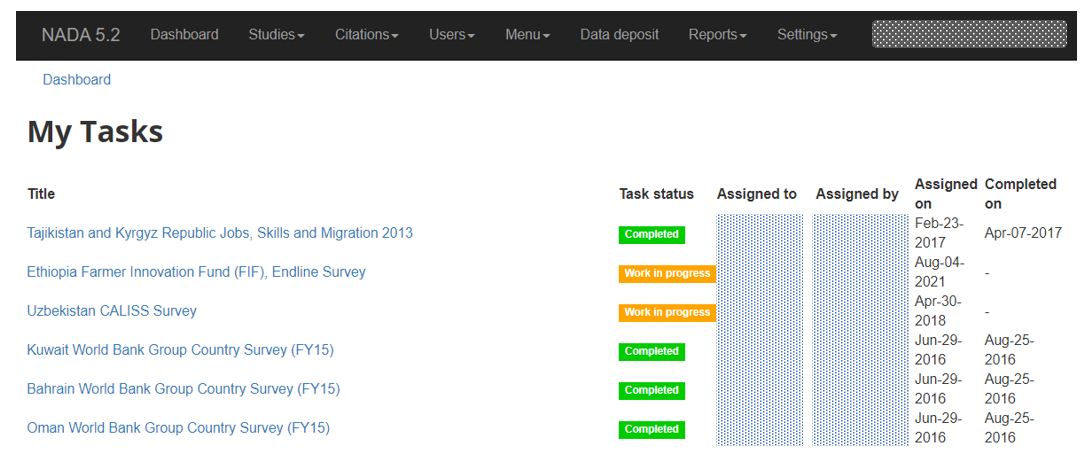
A curator/admin can view their tasks by using this url: Catalog url+ /admin/datadeposit/tasks/my_tasks
Tasks are listed in order starting with deposit projects assigned to the curator/admin, followed by deposits assigned by the admin to others.
# Edit deposits (Manage projects)

The Edit link opens a Manage Projects page where an administrator can manage a deposit project from the following tabs:
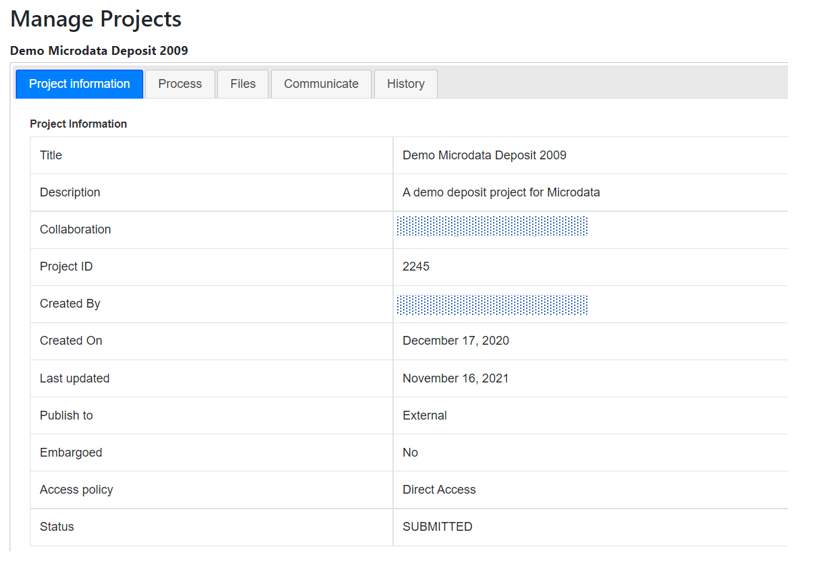
# Project information
The administrator can review all submitted project information on one page including study description, embargo notes (if provided), a list of uploaded files and citations. From this tab, an administrator can also:
view a summary of the deposit. Contents of this page can be printed
or saved by right clicking and selecting the desired action.
download the metadata in DDI xml and RDF format. These files are
machine readable and can be ingested by metadata editors like Nesstar Publisher or uploaded to NADA
NOTE: Citations provided by the depositor are displayed in the project information but not included in the DDI, these will need to be added to the citation repository and attached to the study separately.
# Process (Update Status)
From this tab, an administrator can select and update the status of the deposit to any of the available statuses (draft, accepted, processed, closed) and notify the depositor as well as collaborators by email. Reopen sets the status of a project to draft.
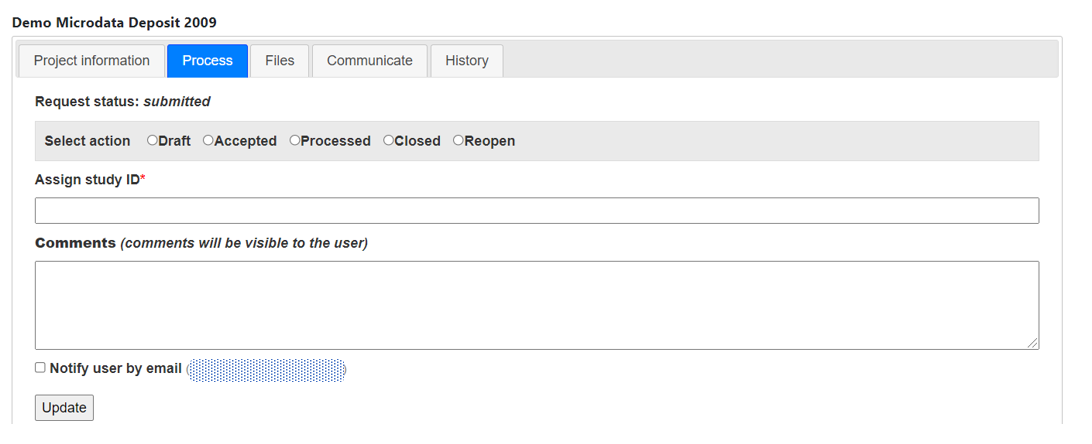
NOTE: Since the data deposit system does not automatically publish or add content to the catalog and archive, when the administrator reviews and accepts a deposit, they will transfer the deposited resources to the archive and file them under a unique study ID. This ID will also be used to identify the study in the NADA catalog if the data gets listed in the catalog. The deposit, archiving and publishing processes are not directly linked, so recording the study ID in data deposit when updating the deposit status helps to identify the deposit project with the study in the archive and catalog.
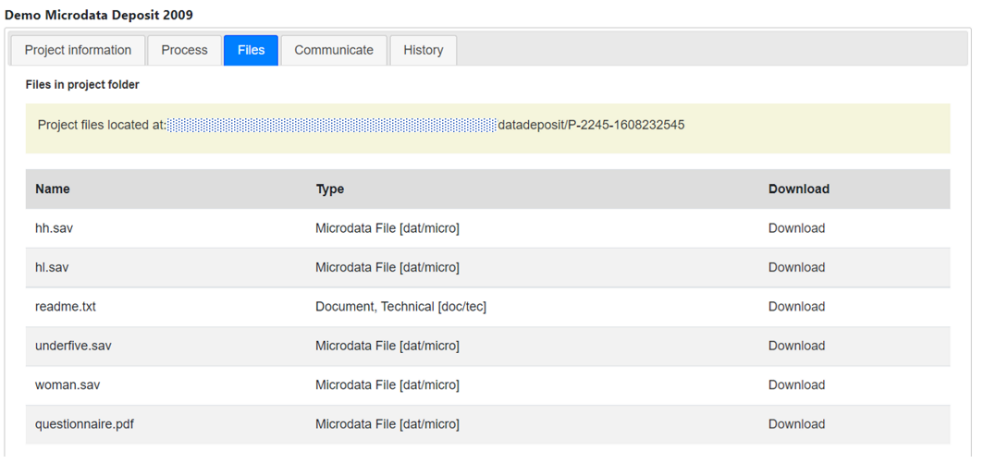
# Files (Access uploaded files)
This tab lists all the files uploaded to the project, indicates where they are stored, and provides their download links.
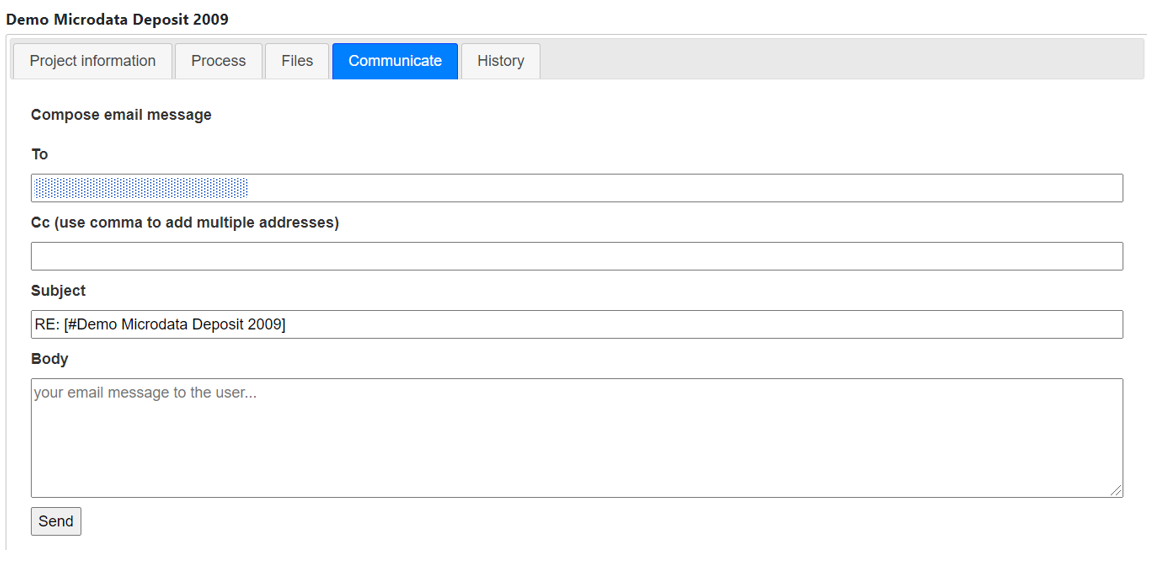
# Communicate
The Communicate tab allows the administrator to email depositors and collaborators regarding deposits without leaving the deposit site. Emails sent this way are logged in the project deposit history and are useful for reference e.g if updates on embargo dates are sent via email.
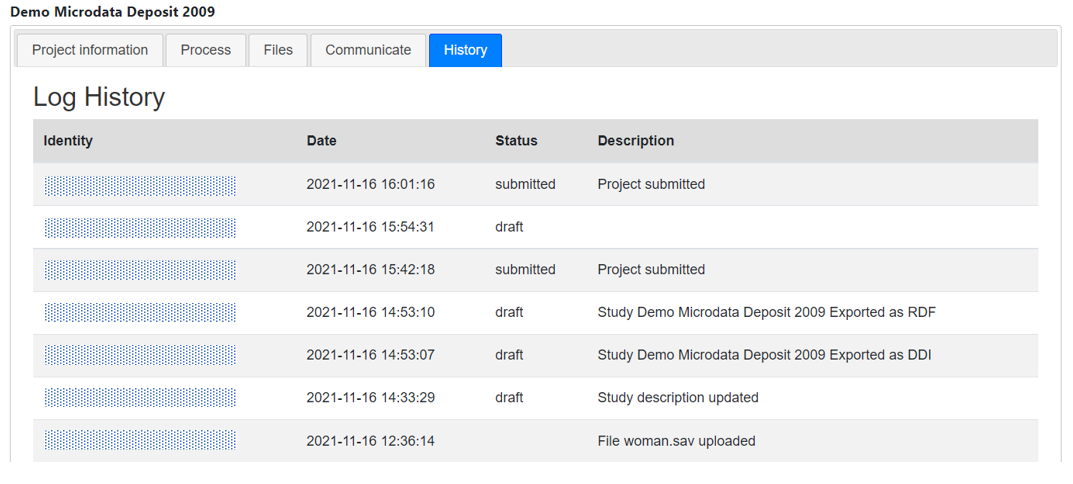
# Deposit History
The deposit history tab provides a log of changes made to the deposit. If a depositor updates a deposit, the administrator is informed of the changes in the deposit.
# Delete projects

The delete link enables the administrator to delete deposits projects. To avoid inadvertent deletion, the system will request the confirmation before deleting a project.