# Settings
# Using the administrator interface
All settings for the application are controlled via the Settings menu at the top of the Site Administration page.
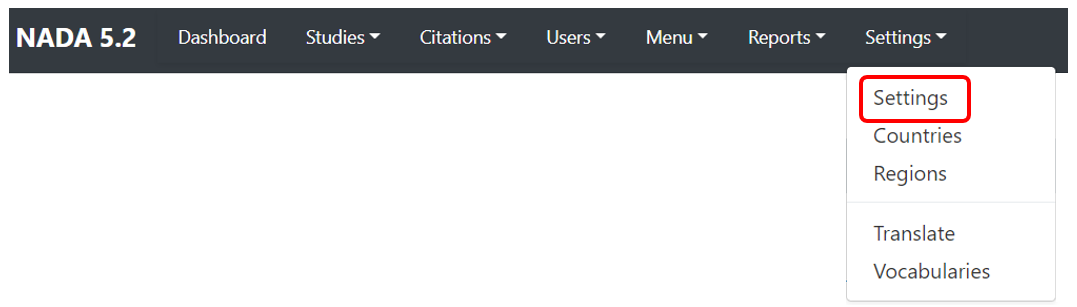
There are seven main settings sections.
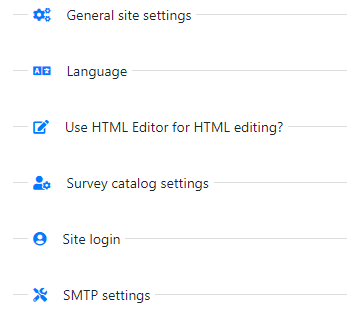
# General site settings
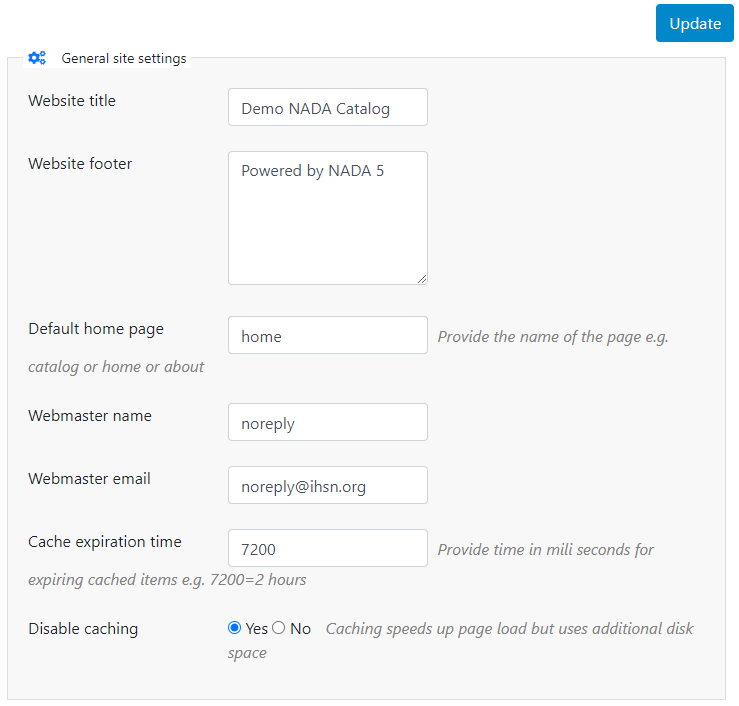
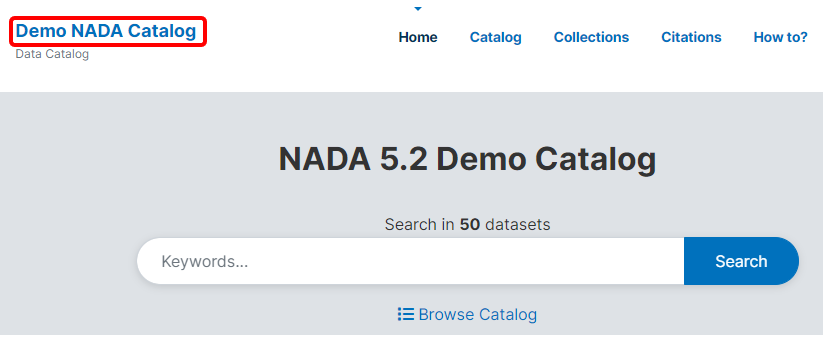
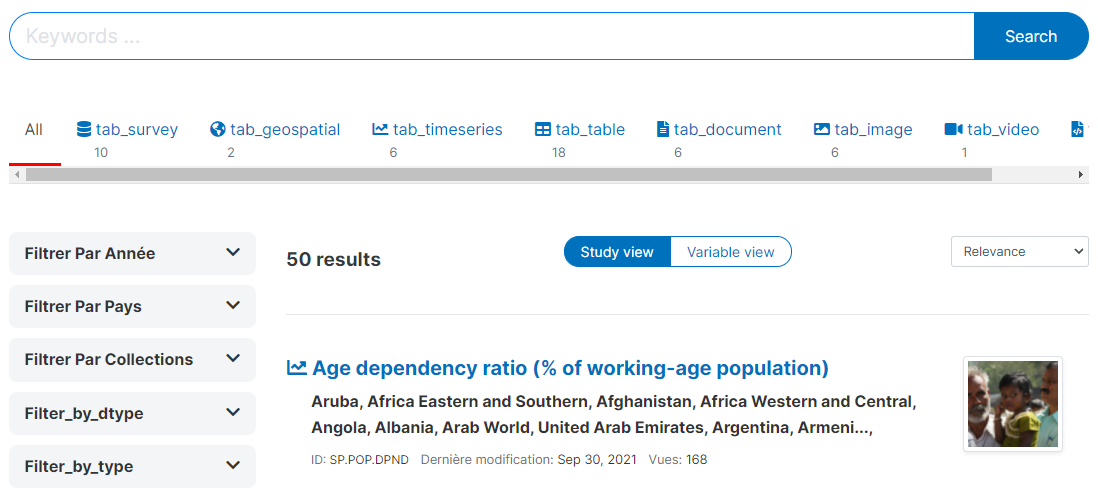
The Website title will become the frontpage title of the NADA catalog. In the user interface:
Website footer: The footer text can be changed in this field. This displays at the bottom of your site page when your theme outputs it (see Customizing themes).

Default home page: The initial page that loads when a user visits
the NADA site can be set here. In this case the catalog page is set to
open by default. For a full guide (menus, static views, and the default
home.php template), see Customizing the home page.
Webmaster name: The name of the webmaster can be set here. This is the name that will be used in system emails sent to users.
Webmaster email: Enter the webmaster email address here. This should be the address that will be used in communication with users. Typically, this is a general enquiries email set up by the organization and not a personal email address for a particular person. Note: to avoid mail systems rejecting mail as spam make sure to enter an address here that is on the same domain as the server used in the email settings at setup.
Cache expiration time: A cache folder stores pre- generated pages of the site to allow for faster browsing by the user. Set the time that the Cache takes to expire. By default, it is set to 2 hours (in milliseconds).
Disable caching: If it is desired to turn off caching then select "no" here. Sometimes it is useful to turn off caching when developing or updating a site to ensure that content changes become immediately visible on the front-end without having to wait for the cache to expire and the new changes to show. Turn this back on to speed up page loading for users.
Click Update to save all settings.
# Language
To change the language of the application, expand the language section and choose the desired language. Click Update to save and apply the setting.

The change of language will apply to both the user and the administrator interfaces.
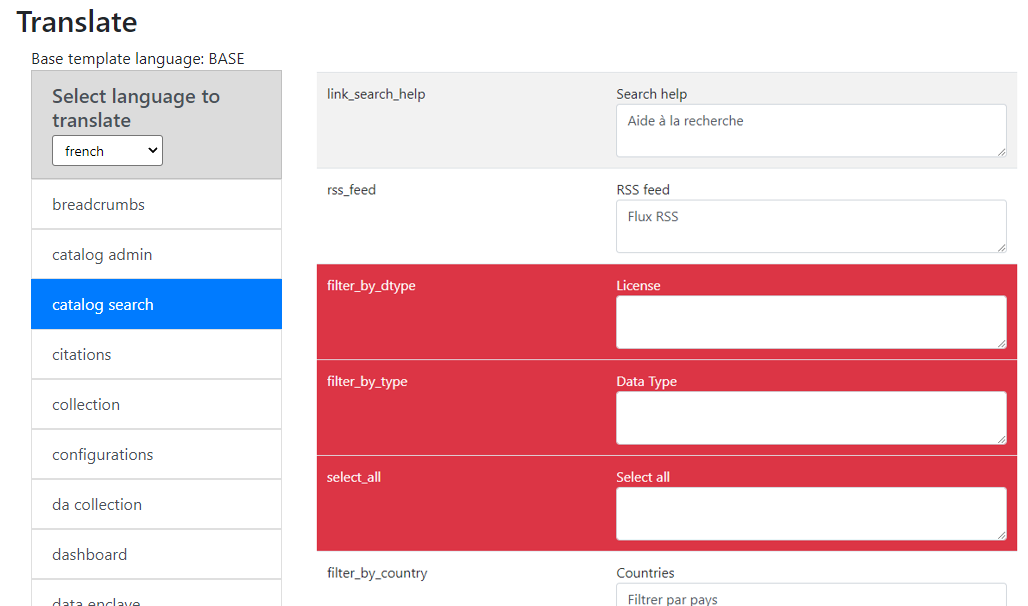
If you see content that is not in the selected language, it means that some translations are missing. If a translation is missing, or if you think that the translation is not accurate, you can add/edit the translation yourself. See the section "Translating NADA".


# Use of HTML Editor
A basic HTML editor is provided in the menu and page creating section of the application. This setting allows this to be turned on or off.

# Survey catalog settings
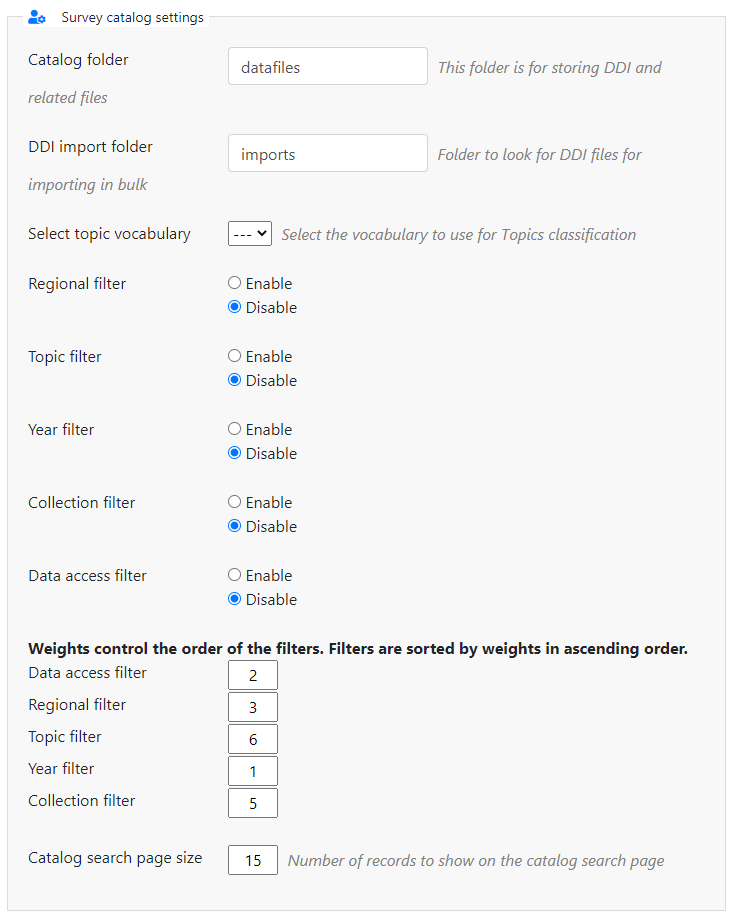
Catalog folder: This is the folder where the files for the study are stored on the server. This includes the DDI, eternal resources and data files. This folder can be moved to a location outside the web root as described in the installation instructions in Chapter 1. Enter either relative or absolute paths to the folder location.
DDI import folder: This is the folder where DDI's can be placed in order to use the bulk study import function in the NADA. In NADA3 files had to be physically copied to this folder on the server, but this is no longer necessary in NADA 4. Files can now be directly uploaded to this folder from the Site Administration -- Manage Studies page page.
Select the vocabulary to use for the topic filter. By default, this is set to the CESSDA classification as recommended in the IHSN templates supplied at IHSN.org (opens new window) for the Nesstar Metadata Publisher.
Enable or disable the Country filter on the user interface search page here. If the catalog only contains studies for one country, then turning this filter off is recommended.
Enable or disable the Topic filter on the user interface search page here. If no topics have been defined in the DDI's being uploaded, then it is recommended to turn this filter off (disable).
Enable or disable the Year filter on the user interface search page here.
Enable or disable the Collection filter on the user interface search page here. If no collections have been defined, then it is recommended to disable this filter.
Enable or disable the Data access filter on the user interface search page here. This filter is not needed if there are very few studies in the catalog or if all studies are set to the same access type.
This section controls the order in which the filters appear on the search page. Enter numbers here that rank the order of the filters in the order they should be displayed.
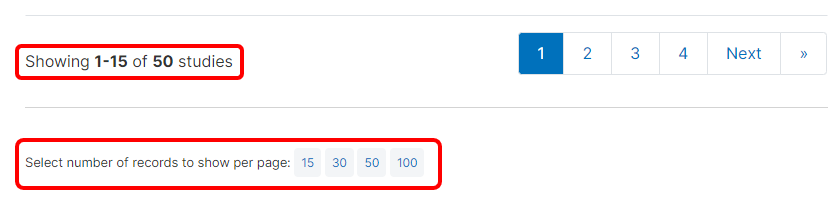
Catalog search page size: This setting determines how many studies are displayed by default to the user on the search page -- catalog view.
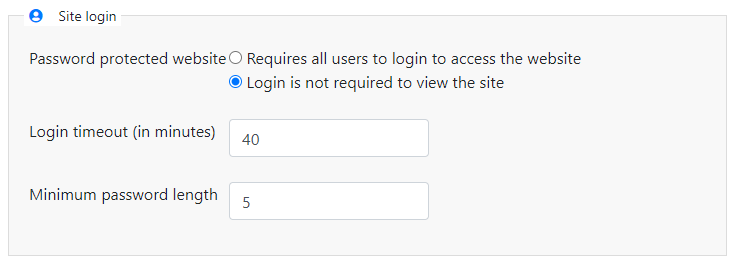
# Site login
Password protected website: By default, a NADA catalog created on a web server will be accessible to all users with access to the URL (intranet or internet). Users will only need to register and login when they want to request access, or access, non-public data. In some cases, however, a catalog administrator may want to restrict the access to the catalog to authorized persons only. This can be done by requiring that all users login to access the website, by selecting the option "Requires all users to login to access the website". [how do they get a password?]
Login timeout: determines how long a user will stay logged in. After the time indicated here (a positive value in minutes), the user will be automatically logged out.
Minimum password length: Sets the minimum length for passwords created by the users at registration, or for manual user creation by administrators. The use of strong passwords is recommended.
# SMTP settings
NADA may need to be able to send emails to users. This will be the case when access to some datasets (public use files, or licensed access datasets) require that users be registered. Email communications will be used by NADA to (i) confirm and activate the user registration, and (ii) to inform users of the status of their requests for access to licensed datasets. To allow this, an email account dedicated to NADA must be created (possibly on a commercial email application like G-mail), and the SMTP must be configured to enable this account.
The SMTP settings are set by editing the config/email.php file (which cannot be done using the administrator interface). Once done, it is essential to test the email settings. This can be done using the "Test email configurations" button.

Another way to test if the email settings are working is to use the "forgot password" option from the user login page. If no mail is received when doing this test, the mail settings must be corrected. If necessary, check with the ISP or server administrator for the correct settings.
# Using the API
The site settings cannot be changed using the API.