# Data deposit system
The NADA Data Deposit system is an optional component of the application, which needs to be installed and activated separately from the main application. It is intended to allow catalog administrators to collect datasets from authenticated/authorized contributors. The current version of the Data Deposit applies to microdata only. Future versions of NADA will accommodate additional data types. When the Data Deposit is installed, a new item can be added to the main menu linking to a landing page (to be developed by the catalog administrator). This landing page should provide some information to data depositors on what to deposit, and how, and a link to the Data Deposit application itself.

# Overview
The Data Deposit system allows contributors to a data catalog to submit datasets for publishing in the catalog. It does not automatically publish or add content to the catalog; it is used to collect data, metadata, and resources related to a dataset and transfer these materials to a catalog's curation team. Typically, a Data Deposit system will be implemented within an organization, on an intranet or controlled-access server. For security reasons, the Data deposit should not be used as a crowd-sourcing data gathering system.
The Data Deposit allows contributors to upload files, enter metadata using templates, and provide instructions to the data curators. It logs all activities, providing full traceability of the data acquisition process. It informs depositors of their actions, providing confirmation and evidence of data deposit when needed. It allows data curators to organize the data curation work. The use of metadata templates reduces the burden on data curators (when depositors enter detailed metadata); it is however a system that minimizes the burden on data depositors. All metadata is exportable to DDI 2.5
# Installation and activation
NADA includes the data deposit as of V5.0.4. However, it is not installed by default and must be installed and enabled manually.
# Create database tables
Run the SQL from the file install/schema.dd.mysql.sql on your NADA database. This will create all the tables used by the data deposit.
# Enable data deposit
- To enable data deposit, edit the configuration file
application/config/datadeposit.php. - Change the setting
enable_datadeposittoTRUE:
$config['datadeposit']['enable_datadeposit'] = TRUE;
- Save the file.
- Open web browser and navigate to
indexe.php/datadeposit to see data deposit frontend.
# Use by data depositors
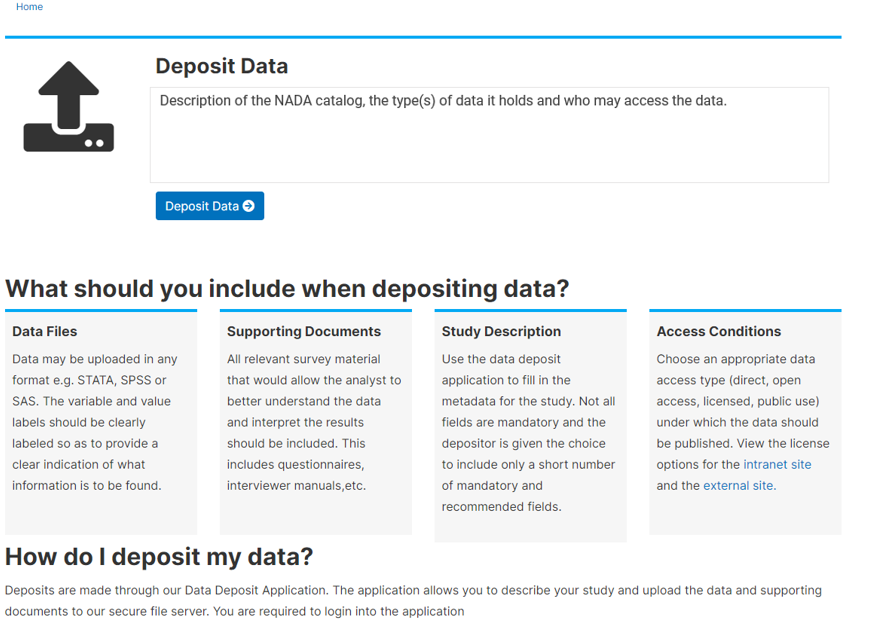
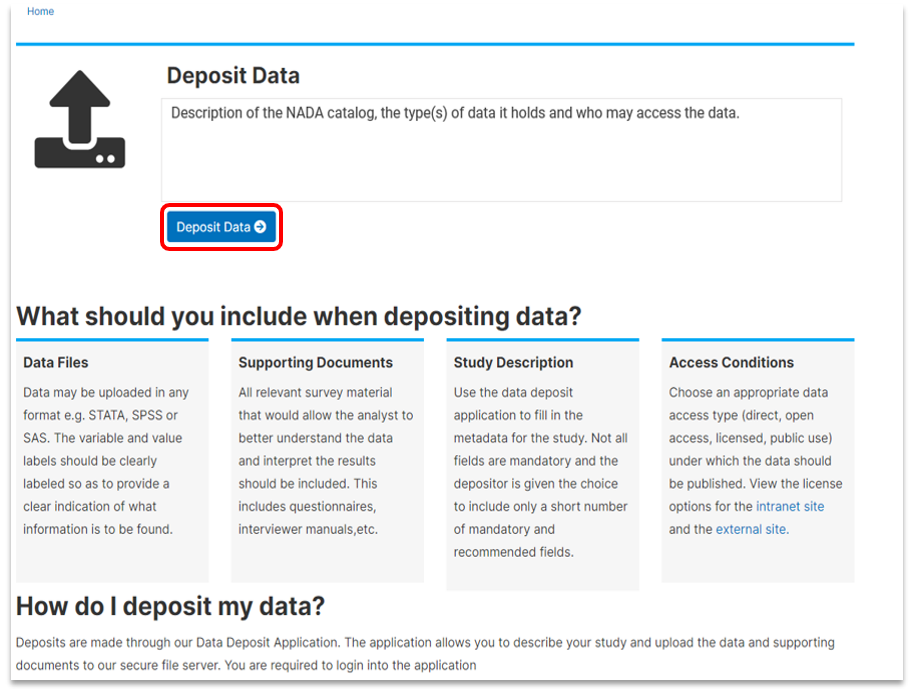
The deposit application landing page displays information about the catalog; deposit instructions and guidance for depositors to help them prepare their data and documentation before they initiate the deposit process, as well as what to expect once a deposit is submitted. Once a contributor is ready to deposit, the first step is to click the Deposit Data button. This prompts the contributor to log in to the application.
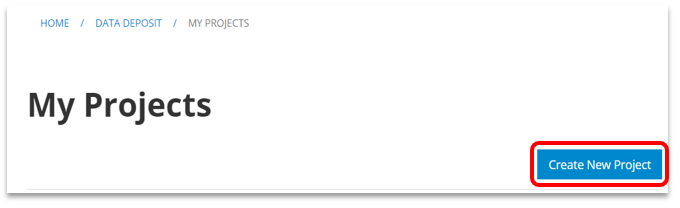
 Once a depositor logs in to the deposit application, the first page they
see is titled My projects. This page lists all deposit projects
initiated and submitted by the individual who is logged in, as well as
deposit projects where the individual is included as a collaborator.
From this page, a depositor can create new deposit projects, review
existing projects and monitor the status for each project in their list.
Once a depositor logs in to the deposit application, the first page they
see is titled My projects. This page lists all deposit projects
initiated and submitted by the individual who is logged in, as well as
deposit projects where the individual is included as a collaborator.
From this page, a depositor can create new deposit projects, review
existing projects and monitor the status for each project in their list.
Deposit status can take any of the following values:
Draft: The depositor or named collaborators can edit, upload resources for any length of time until they are ready to submit, or they can delete the deposit project.
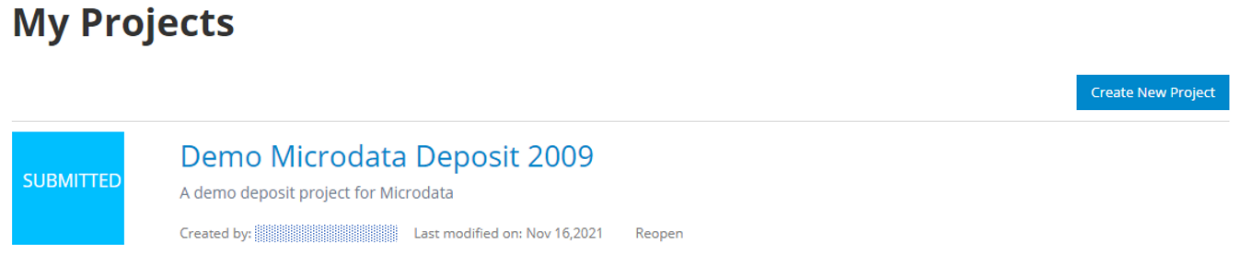
Submitted: This status is displayed when deposit project has been submitted. The depositor cannot edit or delete the project, but they can request the administrator to reopen the project if they need to add any resources or edit the deposit form.
Accepted: The deposit form has been reviewed by the administrator, the data and metadata have been transferred to the curators for processing. At this point, the depositor or any named collaborators cannot edit the request. If they need any changes made to the project, they will need to request the administrator to reopen the project (return it to draft status) on their behalf.
Processed: deposit is processed i.e., data and metadata are curated and if authorized for publication, the metadata and data are published in the catalog.
Closed
# Creating a new deposit project
# Project information
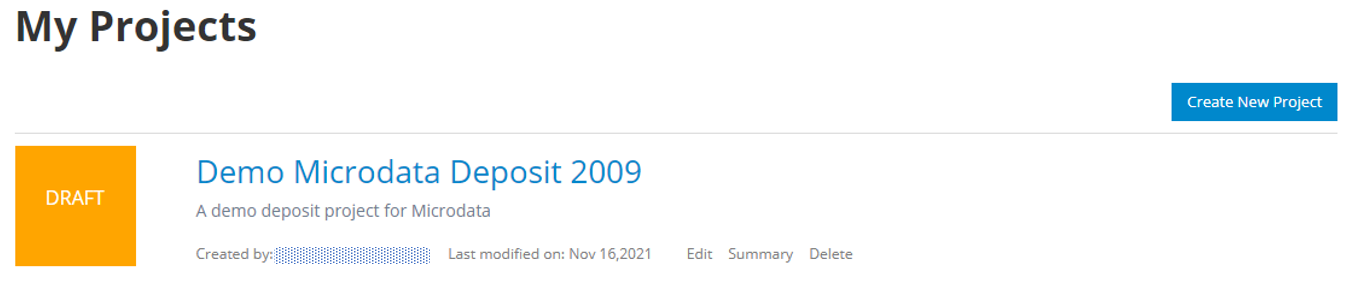
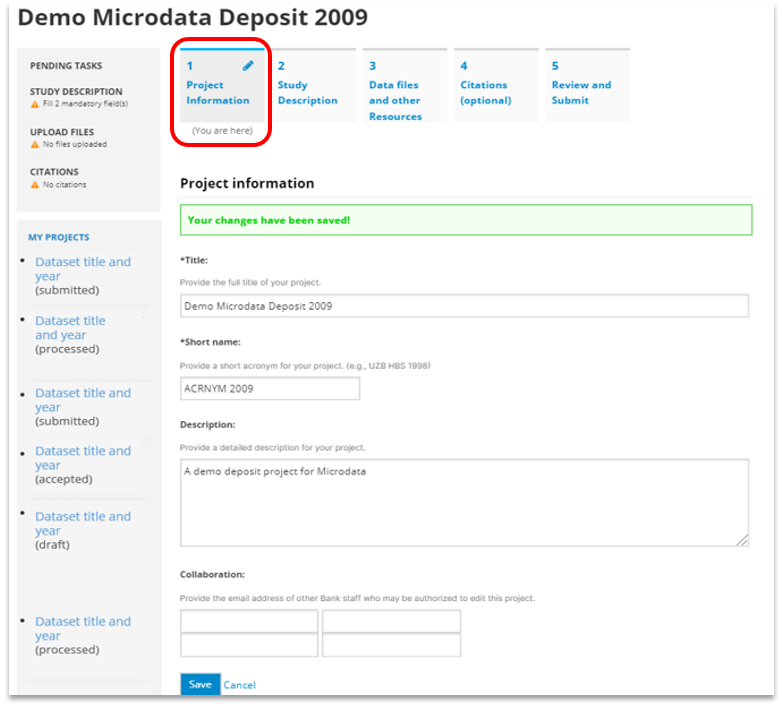
The Create New Project button launches a form for the depositor to enter basic deposit project information i.e., title, abbreviation and description. The depositor can also specify email addresses of any collaborators on the project who would also have view and edit rights to the project. Collaboration and project description details are optional, but the title and project short name are mandatory.
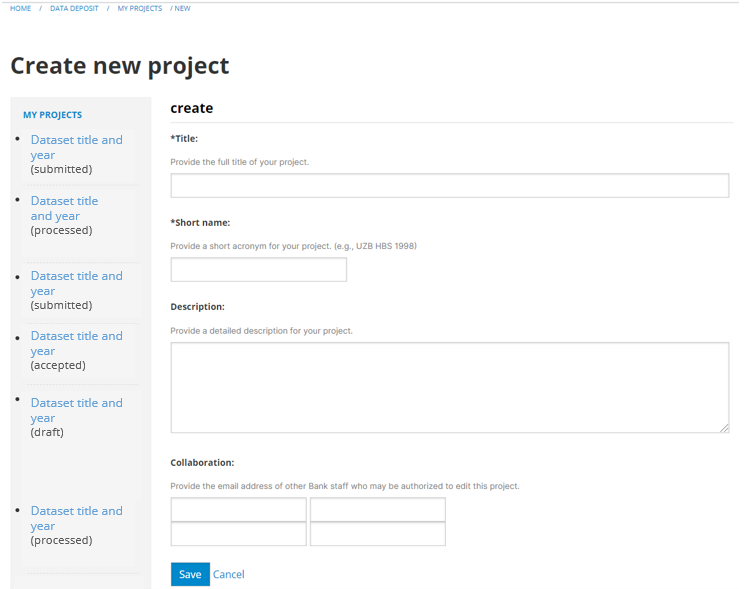
Once this section is saved, a draft deposit project is created in the system, assigned a unique project id, and listed under the specified project title. On My Projects page, the project is listed with Edit, (View) Summary, and Delete options available for the depositor.
When editing the project, you will notice that there are additional tabs available, and the project information is now displayed on the first tab - the Project Information Tab.
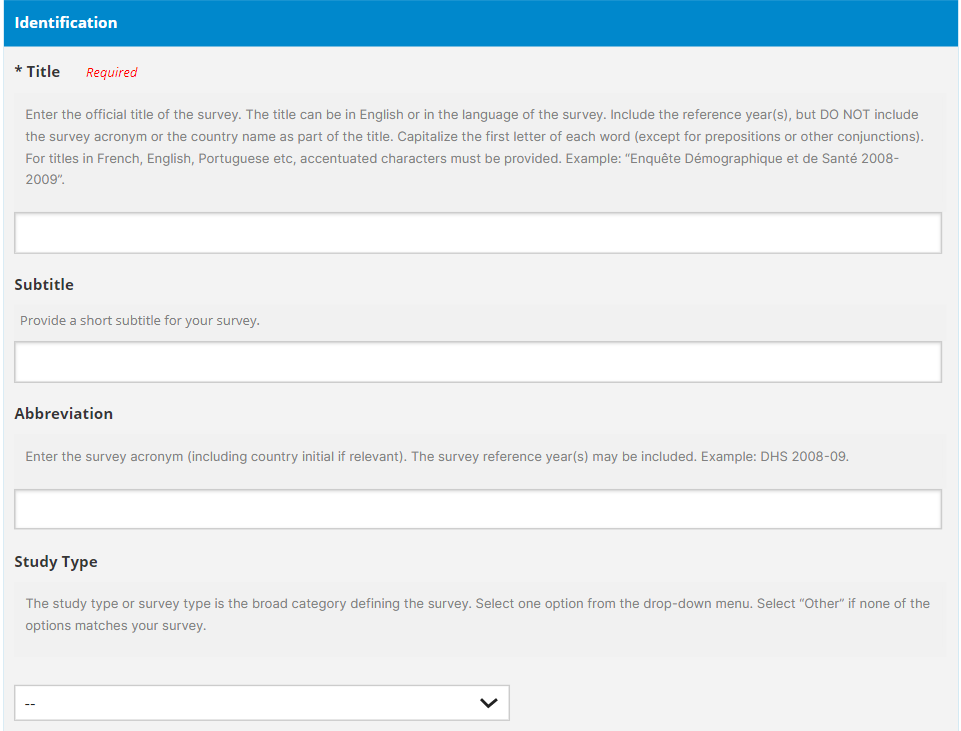
# Study Description
Click the Study Description tab to provide Study Description details. The current version of the data deposit application accepts microdata, so the deposit form fields correspond to DDI metadata fields, which is the international metadata standard for microdata.
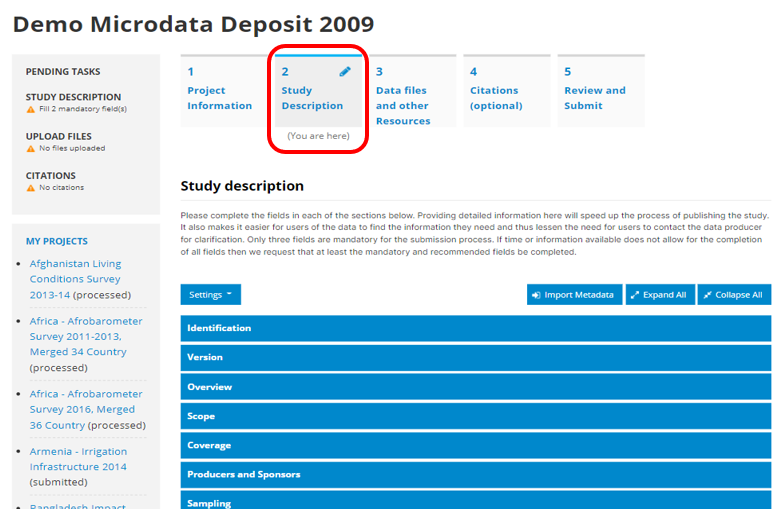
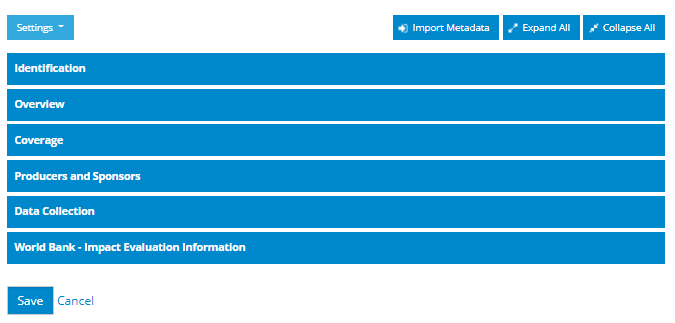
There are a few functions available to aid the deposit process. The depositor can adjust form settings, import metadata from another project, expand/collapse all form fields.
# Adjustable form settings
By default, the study description form displays all the form fields. However, the depositor can customize the form settings to hide/display help (descriptions for each field including examples) or show only recommended fields, or mandatory fields.
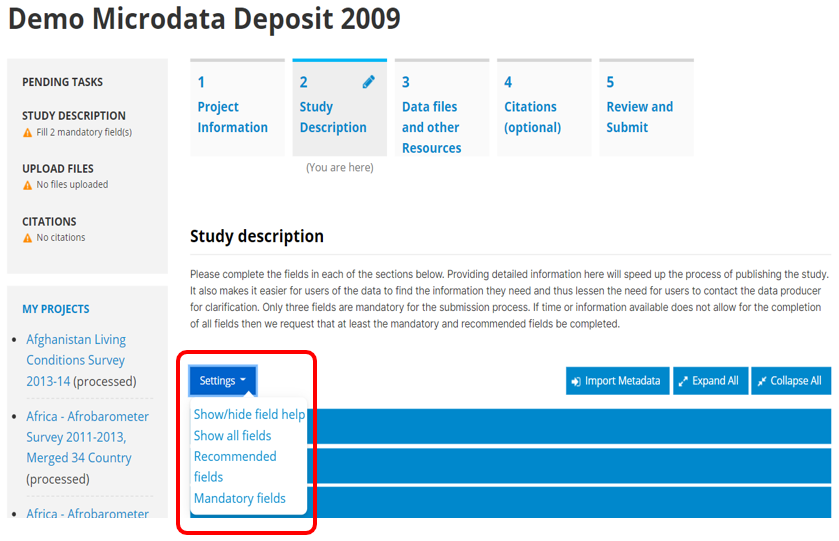
Show field help
Show Recommended Fields
Show Mandatory Fields

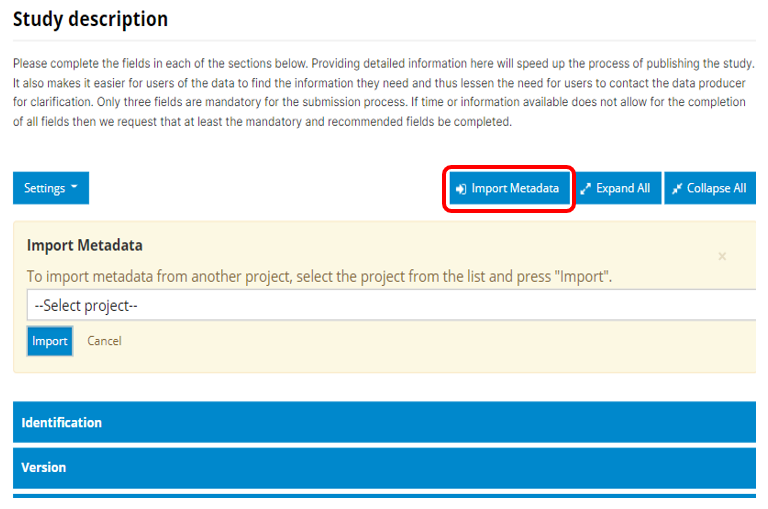
# Metadata Import
If a new project has a study description similar to an existing project, the deposit application allows depositors to import metadata from a project in their projects list, to avoid manually filling all the form fields, and then edit as needed. To import, click the Import Metadata button then select the relevant project to import from.
# Form display options: Expand All/Collapse All
By default, the form is set to collapse all fields. Depending on preference, the depositor can set the form to expand all fields or collapse all fields by clicking on the relevant button. 'Expand all' reveals all the form fields in each section. Collapse All hides the form fields, and shows only the section titles to give the user an overall view of the sections in the form.
The Save button is at the bottom of the Study Description form saves the Study Description update to the deposit project. The deposit remains in draft status and the project can be edited (or deleted) anytime until it is submitted. Any pending tasks e.g mandatory fields that need to be filled will be indicated in the Pending Tasks section to the left of the form. Completed tasks are indicated by a green check mark.
# File Upload
Data Files and resources are uploaded from the Data files and other Resources tab**.**
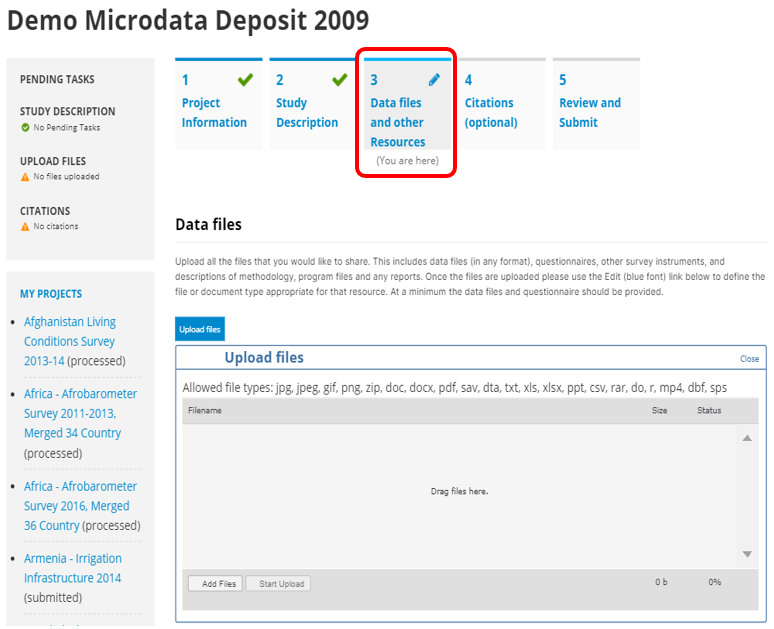
The depositor can either drag and drop multiple files of up to 2G B and click Start Upload, or click Add Files, navigate to the file location to select files then click Start Upload. Allowed file types are indicated in the above screenshot (jpg, jpeg, gif, png, zip, doc, docx, pdf, sav, dta, txt, xls, xlsx, ppt, csv, rar, do, r, mp4, dbf, sps). Uploaded files are listed in a table showing the file name, type and size. This helps the depositor review the uploads and make sure the correct files have been uploaded.
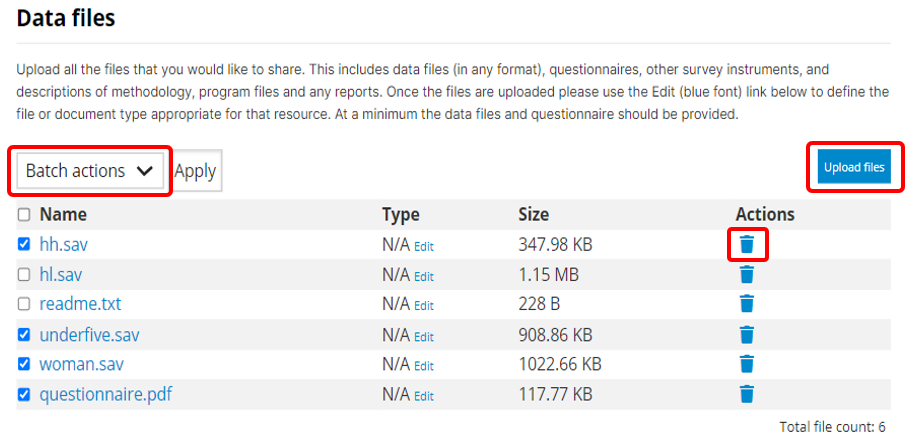
The depositor can update the files in the project by deleting or uploading new files. A depositor can either delete individual files from the Actions column, or through batch delete i.e., checking relevant file names and selecting Delete from the batch actions dropdown menu then clicking Apply. To upload new files, click the Upload button above the top right corner of the table.
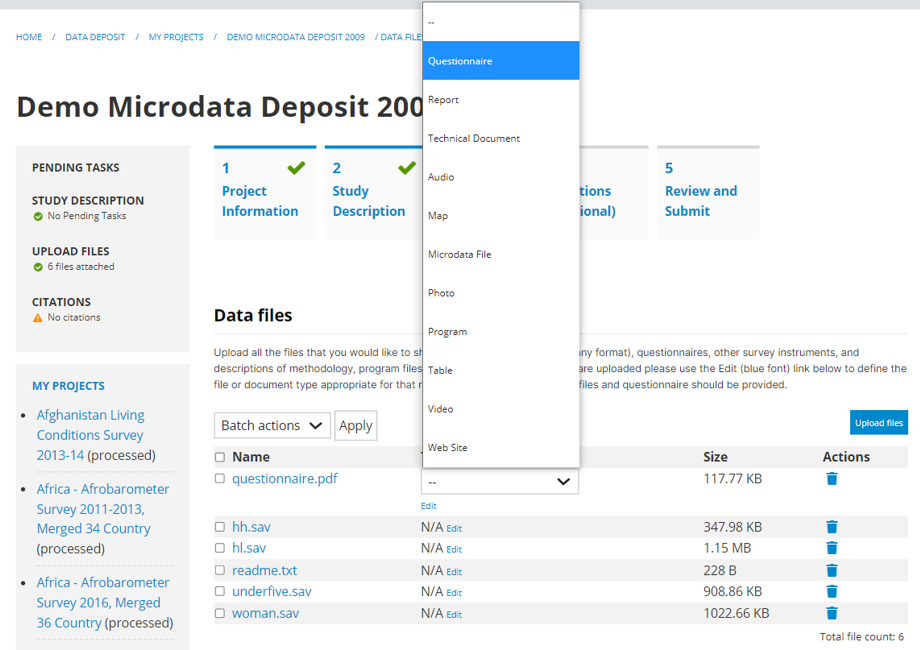
Depositors have the option to define the file or document type when uploading resources. This is done via the Edit link. This step is optional for the depositor as file type can also be defined during curation.
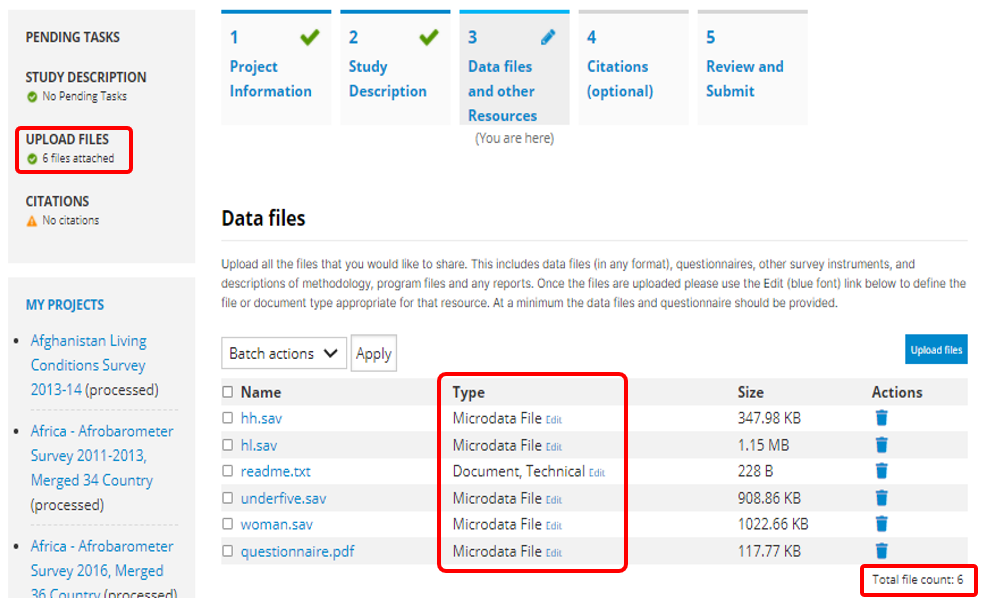
Now in place of N/A, the Type column will reflect the file type as defined by the depositor. The total file count is displayed under Pending Tasks and on the bottom right corner of the table.
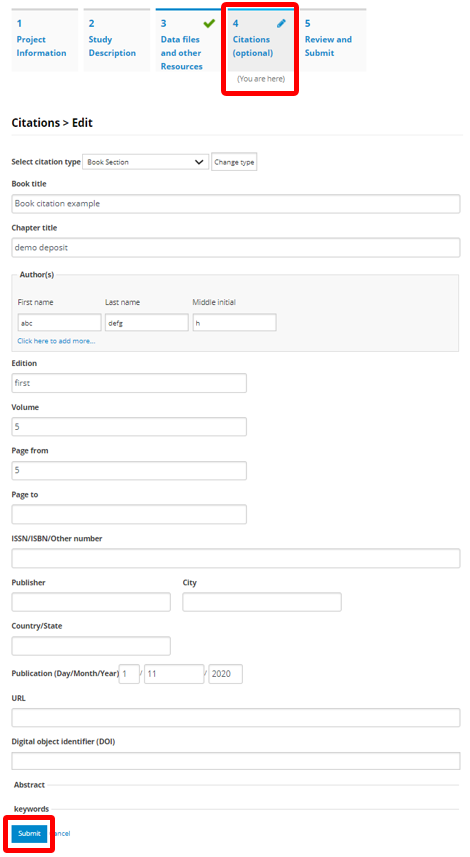
# Citations (optional)
The Citations tab is optional and is used to enter details of any publications that have used the data being deposited.
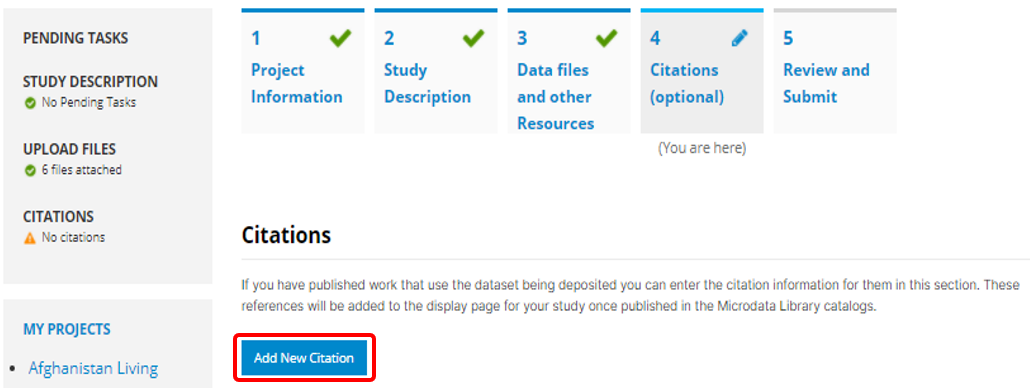
To add a citation, click the Add New Citation button to launch the citations form.
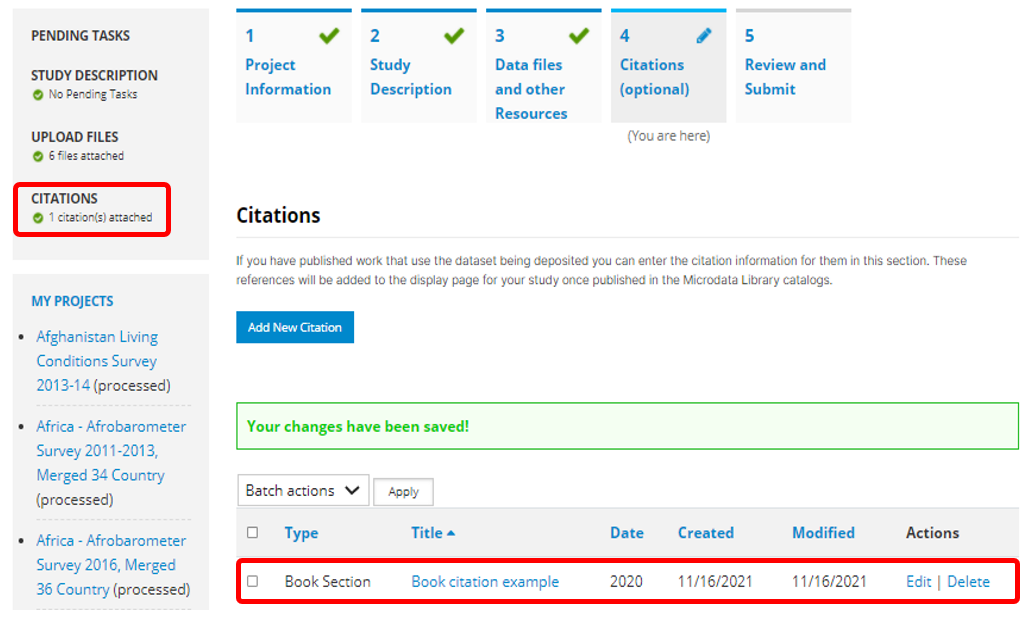
Once all the details are added and submitted, the new citation will be listed under the citations tab with options to edit or delete it and add another citation. The number of citations added to the project is also listed under Pending Tasks. To add another citation, click the Add New Citation button and follow the same process.
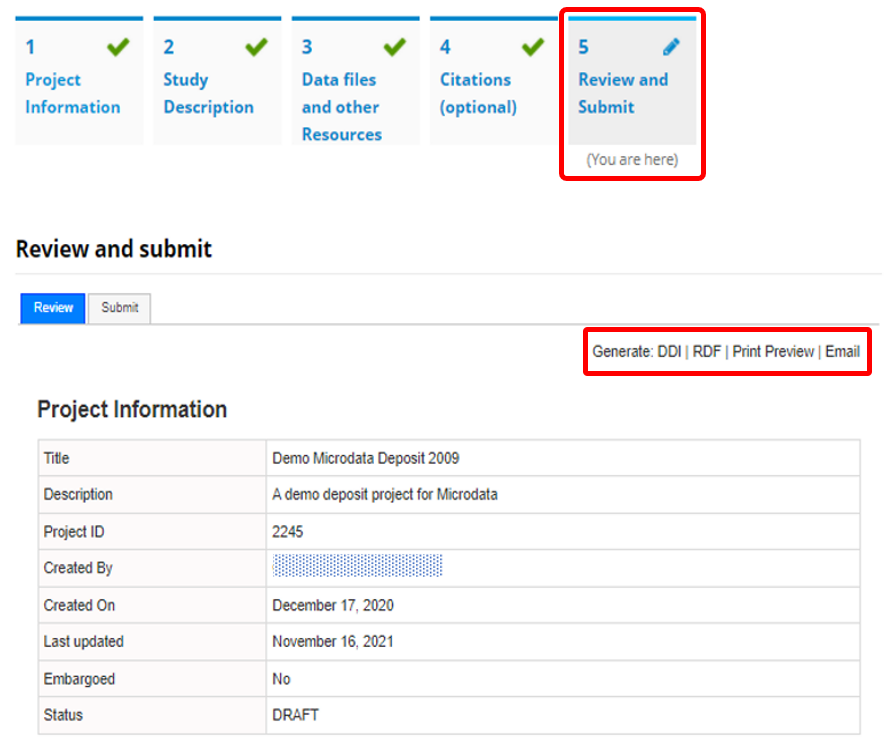
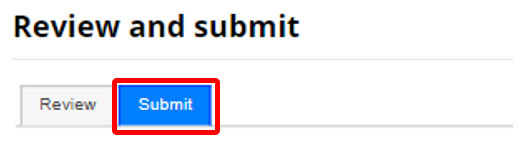
# Deposit Review and Submit
The Review and Submit tab has two sub-menus, a Review tab and a Submit tab. The default view is the Review tab which presents all the project details, study description, files and citations for review.
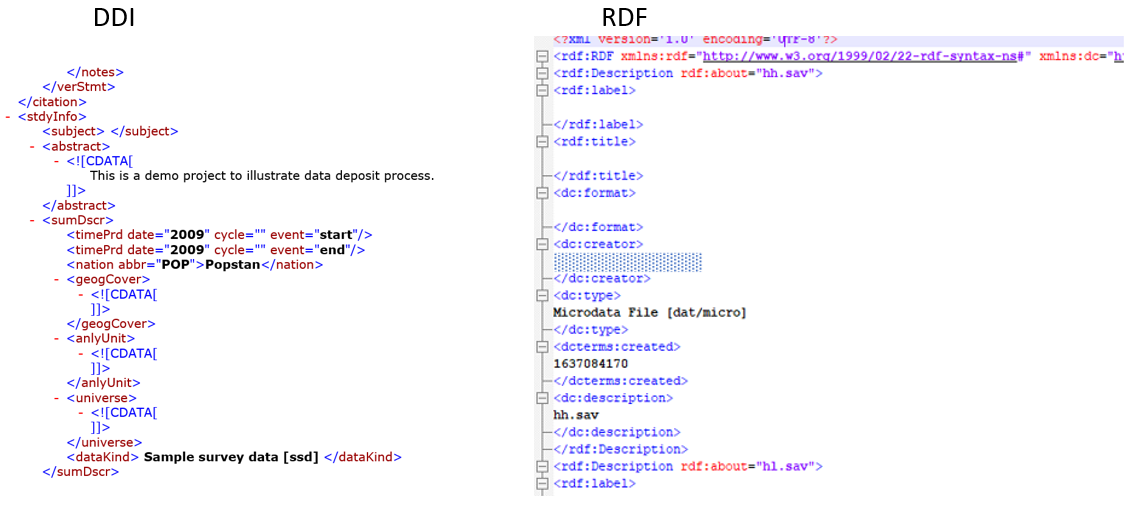
From this tab, the depositor can generate a DDI xml file and a resource description file (RDF) -- exporting the metadata to machine readable format that can be read by software including NADA; a print preview (summary of the deposit); or email the deposit information to others for review. These options are available on the top right above the project information box.

Once all the deposit information is reviewed and found to be satisfactory, it is ready for submission. Project submission is done from the Submit sub-menu.
This presents a form where the depositor specifies
Access policy suitable for the data, in line with the data terms of use
Catalog to publish -- if there are multiple catalogs
Embargo information - If the dataset is embargoed, the depositor indicates the terms of the embargo e.g., time-period and any other special instructions.
Disclosure risk - Safeguarding the identity and privacy of respondents that have provided the data is important. The depositor can specify any identifying variables in the data (e.g., names, official ID numbers, precise GIS coordinates, etc, or any variables deemed otherwise sensitive in the study setting (e.g., ethnicity, tribe, religion, etc) so they can be treated before the data is distributed. Ideally these would be treated before the data is deposited.
Key variables
Notes to the library
cc -- email addresses of additional people who will also receive a summary of the deposit submission.
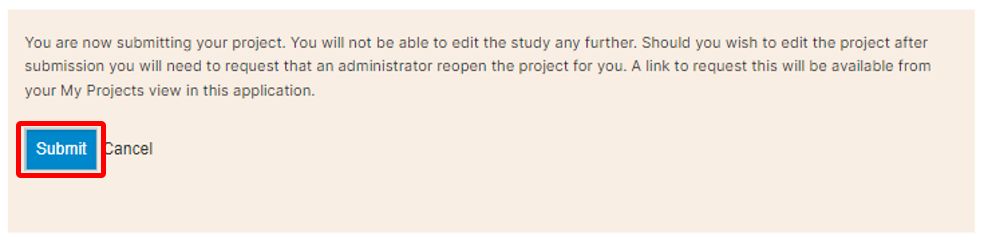
Once this information is submitted, the depositor is given opportunity to confirm submission with the understanding that they will not be able to edit the deposit once it is submitted. Clicking the Submit button will submit the deposit. The depositor receives a confirmation email of the deposit.
The updated status of the deposit is reflected on My Projects page, and a summary of the deposit can be viewed by clicking on the project title. At this point the project cannot be edited or deleted. If any updates need to be made to the project after submission, the depositor needs to contact the administrator to request the project to be re-opened.
The status of the deposit will as change as the deposit goes through the curation workflow. It will be updated to reflect the current status of the deposit.